How to Do Fiberglass Repair Like A Pro
Fiberglass is a versatile and durable material used in a wide range of applications, from boats and automobiles to household fixtures and outdoor equipment. Over time, even the toughest fiberglass surfaces can suffer wear and tear, leading to cracks, chips, or other forms of damage. The good news is that with the right knowledge and techniques, you can learn how to do fiberglass repair like a pro. In this comprehensive guide, we'll take you through the steps and
tips for fiberglass boat repair to restore fiberglass surfaces to their former glory.
Step 1: Gather Your Materials
Before you start any repair project, it's essential to gather all the necessary materials and tools. Here's a list of what you'll need:
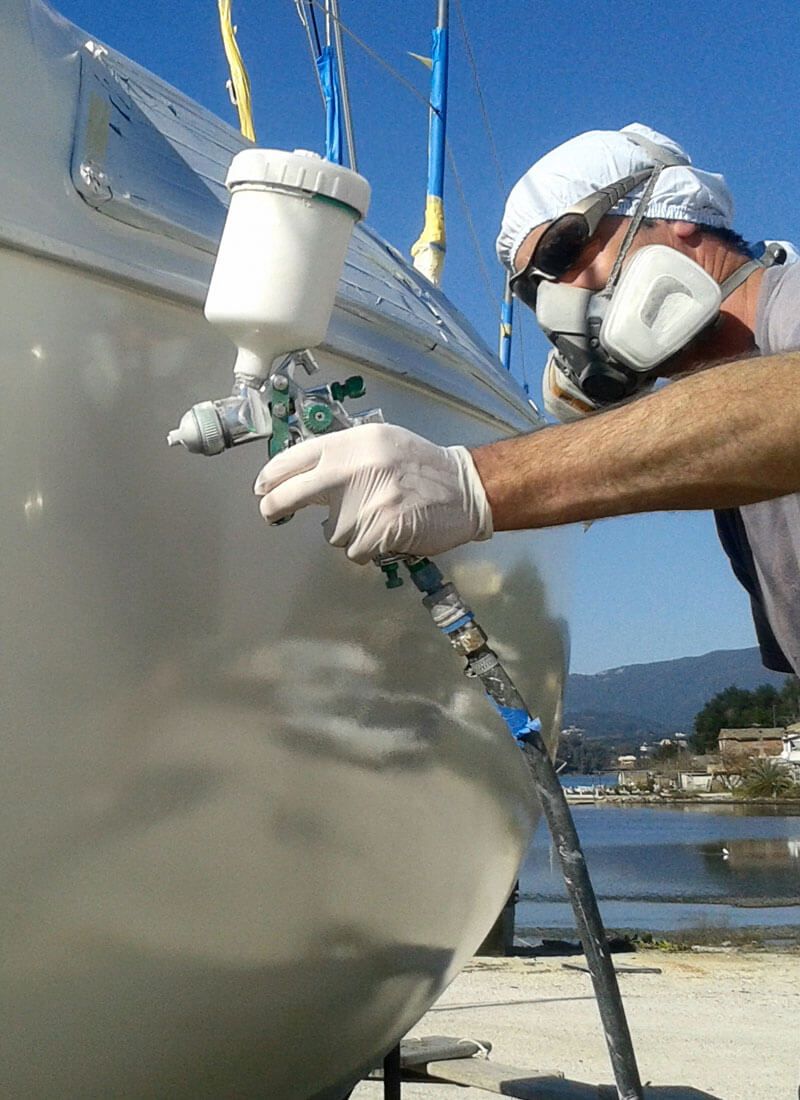
Safety Gear
Safety should be your top priority. Wear protective gear, including safety glasses, gloves, and a dust mask, to keep yourself safe from fiberglass particles.
Fiberglass Repair Kit
Purchase a fiberglass repair kit, which typically includes resin, hardener, fiberglass cloth, mixing containers, and applicators.
Sandpaper
You'll need various grits of sandpaper (from coarse to fine) to smooth the repaired area.
Sanding Block
A sanding block helps you achieve a flat and even surface.
Clean Cloth or Paper Towels
These are essential for cleaning and wiping down surfaces during the repair process.
Painter's Tape
Use painter's tape to mask off areas you don't want to be repaired or painted.
Wax Paper
This can be used to smooth out the fiberglass cloth and prevent it from sticking to your hands.
Step 2: Prepare the Damaged Area
Before you can begin repairing fiberglass, you need to prepare the damaged area. Here's what you should do:
Safety First
Put on your safety gear to protect yourself from fiberglass dust and fumes.
Clean the Area
Remove any dirt, debris, or loose fiberglass particles from the damaged area. Use a clean cloth or paper towel and a suitable cleaning solution.
Sand the Area
Gently sand the damaged area with coarse sandpaper to remove any loose or damaged fiberglass. This will also create a rough surface for the repair material to adhere to.
Step 3: Apply the Fiberglass Repair Kit
Mix the Resin and Hardener
Follow the instructions provided with your repair kit to mix the resin and hardener. Typically, you'll use a specific ratio, and you should mix them thoroughly.
Apply the First Layer
Lay the fiberglass cloth over the damaged area and use an applicator to saturate it with the resin mixture. Ensure that the cloth is fully wetted out and pressed firmly against the damaged surface.
Add Additional Layers
Depending on the severity of the damage, you may need to add additional layers of fiberglass cloth and resin. Each layer should be fully saturated and applied before the previous one has dried.
Step 4: Sand and Finish
Wait for Curing
Allow the fiberglass repair to cure according to the instructions on the repair kit. This usually takes a few hours to a day.
Sand Smooth
Once the repair has cured, use progressively finer grits of sandpaper to sand the repaired area until it is smooth and level with the surrounding surface.
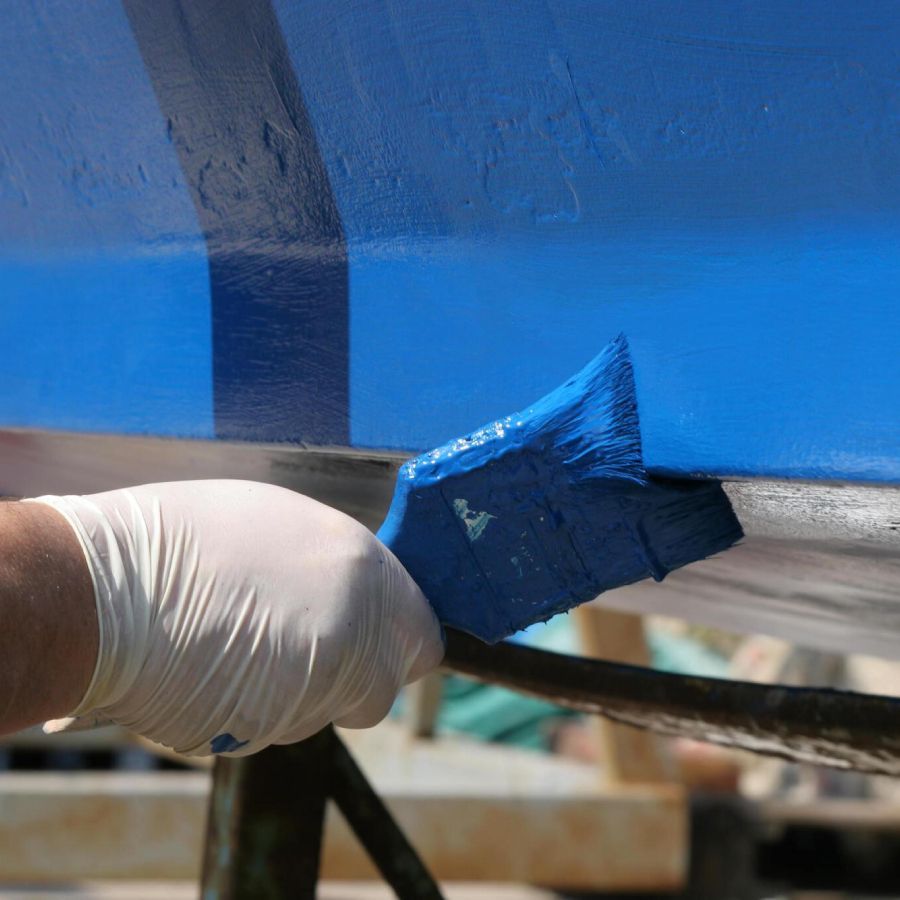
Finish and Paint
If necessary, you can apply a gel coat or paint to match the surrounding surface. Follow the manufacturer's instructions for proper application.
Step 5: Final Touches
Clean Up
Dispose of any used materials and clean your tools and workspace thoroughly.
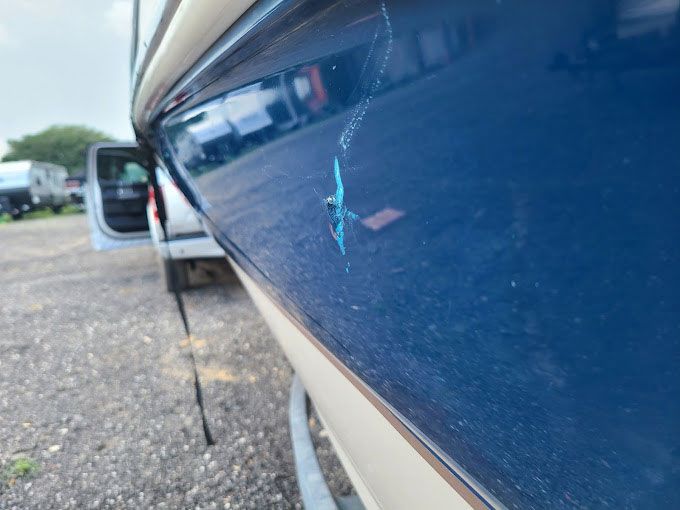
Inspect and Test
After completing the repair, inspect the repaired area carefully. Ensure it's structurally sound and cosmetically satisfactory.
By following these steps and taking your time, you can perform fiberglass repair like a pro. With practice, you'll become more skilled and confident in handling fiberglass repair projects, whether they involve a small ding on your boat or a more extensive repair on an automotive component. Remember that safety is paramount throughout the process, so always use appropriate protective gear and follow safety guidelines.
Fiberglass repair can be a cost-effective and sustainable way to extend the life of various objects and surfaces, and with the skills you've gained, you'll be better equipped to tackle future projects with confidence. If the DIY fiberglass repair doesn't work for you,
contact CV Composites Boat Repair immediately. We have the best team to deliver quality
fiberglass repair in Florida.